|
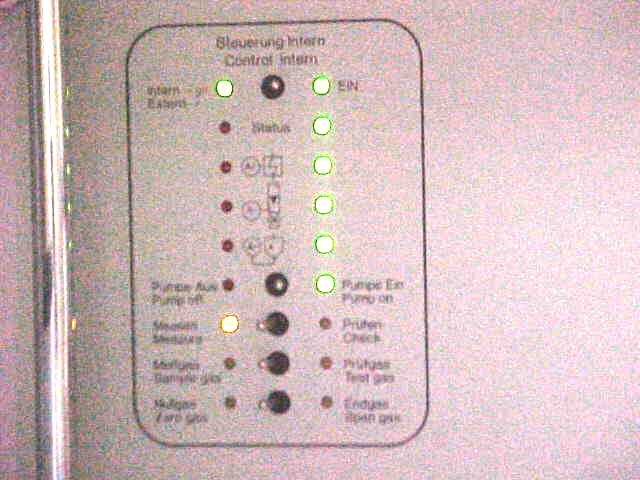
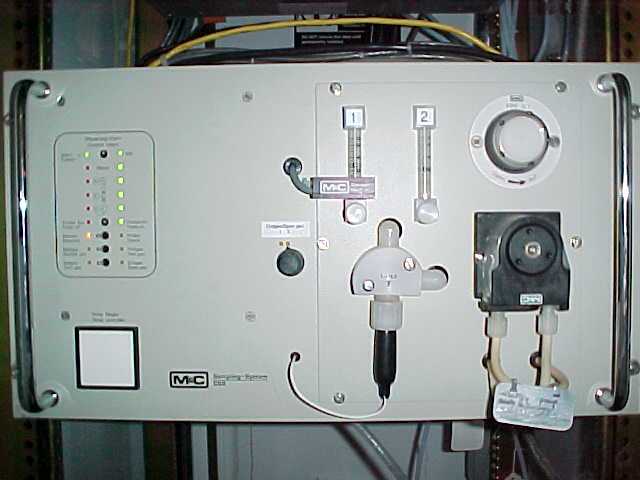
Standing in front of the Servomex system, look for the three switches pictured and flip the top two on the SCS. These will be the "Measure" to "Check"; and "Sample" to "Test Gas". The third switch remains at "Zero Gas" for this portion of the check. |
|
|
|
|
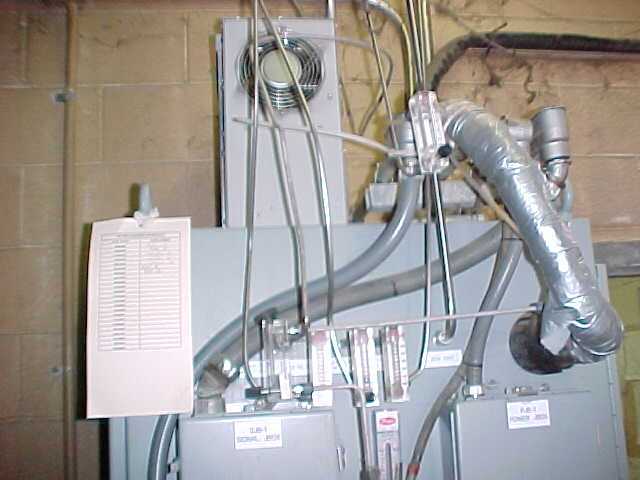
You can make sure the system gas is working properly by looking at the "zero gas" flowmeter on the side of the cabinet. |
|
|
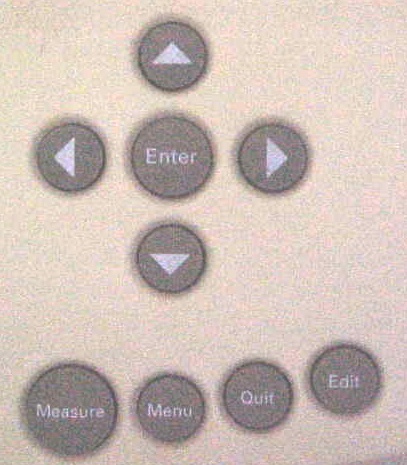
On the Servomex instrument, go through the menu driven screen as follows: push the menu button, the screen will show Calibrate/Setup Alarms/Faults. High light Calibrate using the arrow buttons, push Enter. Change the password to "1000" by hitting the "up" arrow on the Servomex, the left and right pointing arrows move across the screen item. The screen will show Manual Cal/Auto Cal. Select Manual Cal. Scroll to Cal I2 Oxygen with the arrows. The screen will show Low Cal/High Cal History/Chk L & H. Select High Cal. The next screen should show |
|
|
|
I2 High Target=21.000%. If it does not, change the number to the value of the calibration gas. Then push Enter. The screen will show HT 21.00HC I2 Oxygen OK Y?N. Highlight Y if cal gas has reached stable value. Then push Enter . A message that Cal is in progress should appear on the screen. This "zero gas" is the span gas for the Oxygen Analyzer and the zero gas for the CO analyzer. While this gas is selected Calibrate the CO analyzer zero. Follow the steps above except scroll to Cal I1 CO with the arrows. The screen will show Low Cal/High Cal History/Chk L & H. Select Low Cal. The next screen should show II Low Target=0.000ppm. If it does not change the number to the value of the calibration gas. Then push Enter. The screen will show LT 0.00HC I1 CO OK Y?N. Highlight Y if cal gas has reached stable value. Then push Enter . A message that Cal is in progress should appear on the screen. |
||
|
|
Flip the bottom toggle switch on the SCS to "Span Gas 2" (which is about 2000 ppm). You must allow about 2 minutes for the system to reach equilibrium. Go through the same procedure to enter "calibrate I1 CO". The calibration will also be set on "high cal". Continue to "enter" until you reach the end of the calibration. This high span gas is also the zero gas for the |
|
Oxygen analyzer. Using the previous process scroll until Cal I2 Oxygen is displayed and push Enter. Select Low Cal and push Enter. When the screen for value of Oxygen in zero gas is proper and reading is stable highlight Y and push Enter. After calibrations are completed return all toggle switches to their original position, Return the Span 1 or 2 switch to #1. Push Measure on analyzer to return it to normal operation. After readings have returned to normal levels go to Evaps Control and return the "virtual" maintenance switch to OFF. Note the time on the window. |
|
Return to Index


